How Do You Create Your Children’s Book Illustrations?
This is one of the most frequently asked questions an illustrator can receive, so I thought it might be a good idea to tell you how I personally create many of my drawings! Many people think you just sit down and draw an idea … but that’s only part of the creative process. Once you have an idea of what you’d like to draw, you beginning looking through reference photos of the subject(s) you wish to draw. This helps establish details of the subject matter that you really can’t conceive on your own, and it gives your illustrations a more realistic feel in terms of substance and lighting.
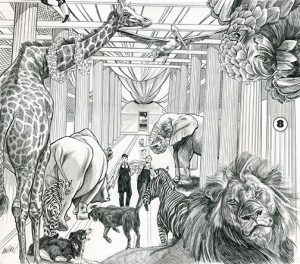
Okay, let’s look at a specific drawing. In my story I’ve described a group of animals that have escaped various misfortunes, that have banded together into a group calling themselves the “Second Chance Circus.” They’re going to be transported in a large C-27 cargo aircraft from Germany to Sicily. So I begin by researching cargo planes and the menagerie of animals I wish to show in this specific scene. Since I’m already drawing a plethora of animals for my new book, Topo and the Second Chance Circus, finding good reference photos of animals was no problem!
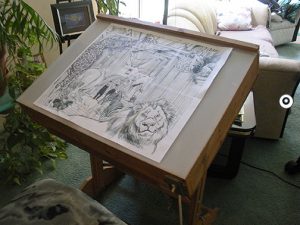
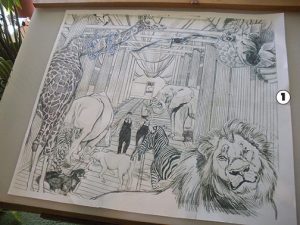
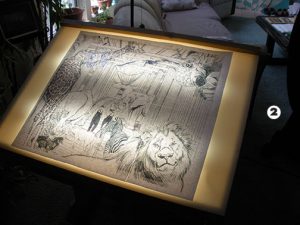
Since I work in pencil and I wish to keep the surface of my illustration board as clean as possible, I go through a meticulous process to ensure I get the best results for the finished drawing. Once I’ve put together a tight composition of the animals and the inside of the aircraft, I scan my sketch and produce a paper printout at the size I wish to work. I like to work on complicated drawings much larger than they’ll eventually appear when printed, so I need to piece together all of my printouts and tape them together! I then place that printout on my homemade light-box and I’m ready for the next stage (0, 1, 2). A light-box enables the artist to clean up his drawing and “throw away” any lines or shapes he doesn’t wish to use from the original sketches! I built this light-box from the first drawing board my parents bought for me when I was 15 years old … I built my own because they’re quite expensive to buy.
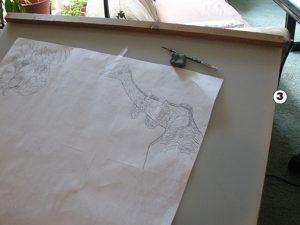
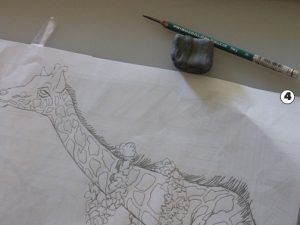
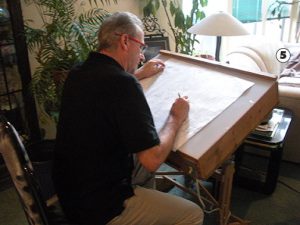
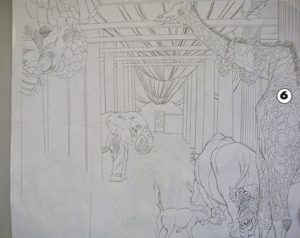
The next stage involves flipping the paper printout over (3, 4, 5, 6) and tracing every single line of your work again in reverse using a 2B pencil … this is a softer lead and easily shows up when you rub the printout down to transfer the rough drawing to illustration board. It takes time and patience to retrace the amount of detail I’m showing in this drawing, but the end result will be worth the hard work and time.
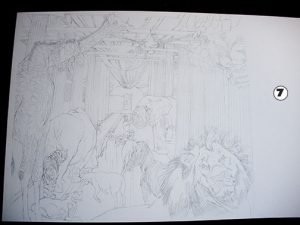
Once you’re done retracing your lines, flip the paper back over and use a burnisher (or something rigid like a butter knife) to transfer the pencil work to the illustration board … then you’re ready to begin work on the finished illustration! When I work, I begin from the top left corner and slowly work my way down and across the page, filling in all the detail of shapes and fur I wish to show … I also use a blank sheet of white paper under my hand and arm to keep the pencil transfer from smearing while I’m working. Once I’ve completed all of these preliminary steps, I find the work on the finished illustration goes rather quickly! And voila! The finished scene is revealed (8)!
